1:20.3 scale Gallows Turntable
1:20.3 scale Gallows Turntable is based on the SP Narrow Gauge Turntable at Laws California and is made out of Basswood cut on my table saw to scale pieces and laser cut from Birch Plywood
This model is of the Gallows type Turntable that was standard on many Narrow gauge railroads across the country
Materials used:
Basswood Planks 4 to 9 inches in width, 26 to 38 inches long and 3/4" think, were cut to scale boards on my Craftsmen 10" table saw. I found that it was a lot cheaper to buy the basswood boards from my local wood dealer and cut the sizes I needed than to purchase them pre-cut from companies like Northeastern and Kappler plus I needed sizes that they didn't offer
I have always liked like the Gallows Style Turntables and decided that I would have one on my layout when I had a chance to build one. when designing the layout I had a small area that was kinda unusable for anything other than scenery. Then after building the bench work and laying the track to form the mainline loop, I found that this area was the right size for a turntable that was big enough for the 2-8-0 consolidations to fit on. So digging though all my plans, I came across a set of plans from an old kit that were really faded but somewhat readable. I spent a couple of days doing a set of full size cad drawings based on the dimensions on the old plans and cross referencing them to an article on the Laws turntable in the Narrow Gauge and Short Line Gazette for measurements that weren't on the plans, I scoured the internet and found some really good reference photos of the Laws Turntable.
With the cad drawings completed, I had my brother print them out on his large format plotter and proceeded to cut the materials to build the turntable.
.
.
The turntable pit is 36" in diameter and made out of 3/4" plywood base and 3 layers of 1/4" thick Bender board. the inside layer being 1/4" lower than the two outer layers. I had this in my garage for a couple of years as it was part of an exhibit that was being scrapped at the place where I worked, I had thought I would have a use for it, so I took it out of the trash and brought it home. It turned out to be the perfect size for the turntable.
CAD Drawing and start of construction
I use a simple CAD program to make all my drawing for building my models and cutting parts out on my laser Cutter. Its called DeltaCad and costs about $50.00 and is very simple to use and has all the features that modelers would need to make good usable drawings for projects. Below is a photo of the deck CAD drawing with the deck ties laid on top .

Note on the upper right side , I have a list of all the sizes of pieces of wood that need to be cut and the number of each. I used this as my cut list when I was cutting the materials on the tablesaw.
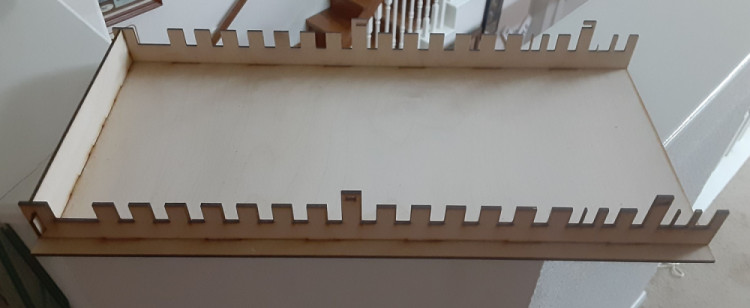
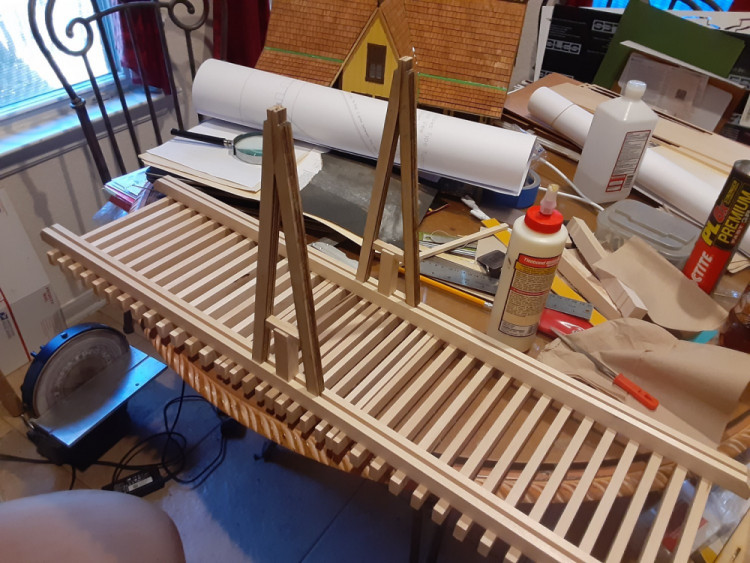
After the parts were cut, I laid the deck ties down on the plans and then laid the side beams on top to get the over all idea of the size of the turntable deck. I wanted to make sure that everything was precise and square so that the pivot point would be exactly in the middle of the turntable, so I designed and lazer cut a jig out of 1/8" Birch plywood. The jig is only big enough for half the turntable. Using the jig pictured below I laid the deck ties in the slots, laid the end beam in place and then started gluing the side beams in place. I used a scale timbers between the two side beams to keep the correct spacing between them.
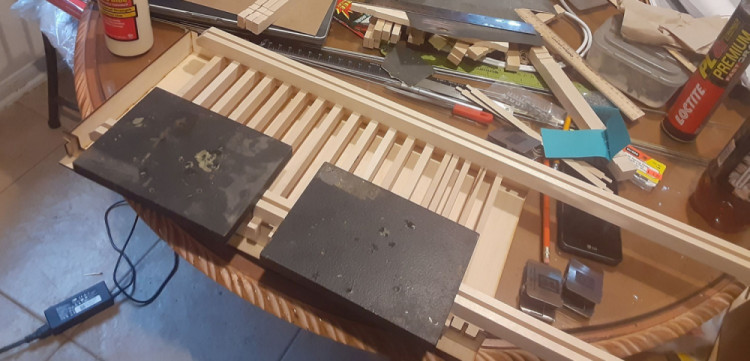
Half of the deck ties are in place and the side beams being glued in place. the two black objects are 15 pound steel weights used to hold everything in place while the Titebond III dries.
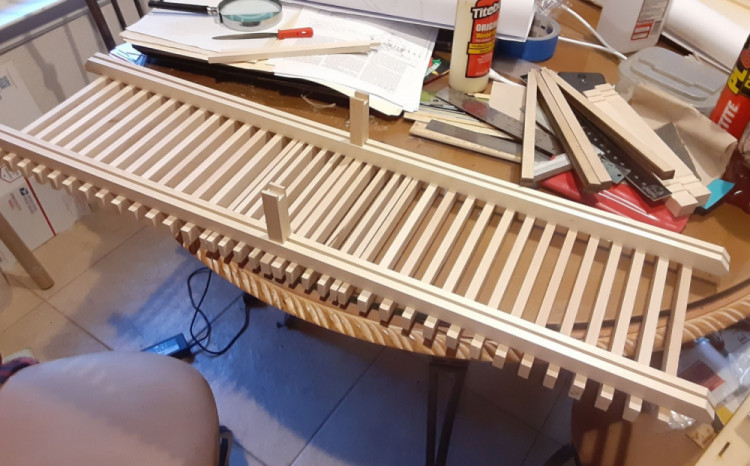
Below is the fill deck assembled with the two center posts notched and in place.
Next came the side uprights. I tied to cut the scale pieces at the correct angle so that they would fit precisely together with a razor saw three times with no luck, so I went back to the CAD program and laid out the side angled uprights and then used the DXF file to laser cut the parts out of 1/8" thick birch plywood. there were 3 pieces for each of the angle pieces, for a total of 12 pieces to make up both of the side uprights.

Upright temperately installed below.
After I had everything fitting like it should, i removed the uprights and then cut all the deck boards and stained them using Watco Dark Walnut Dainsh oil. while I stained the deck boards, I also stained the uprights and the deck ties and side frames. I let the stain dry for 2 days before gluing down the individual deck boards and adding the nail holes in each board.
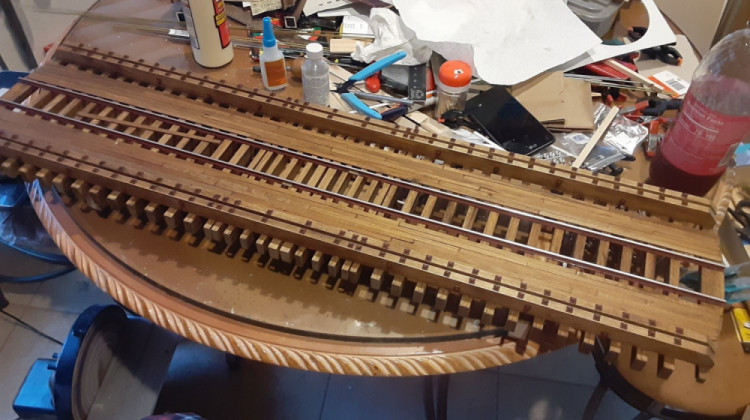
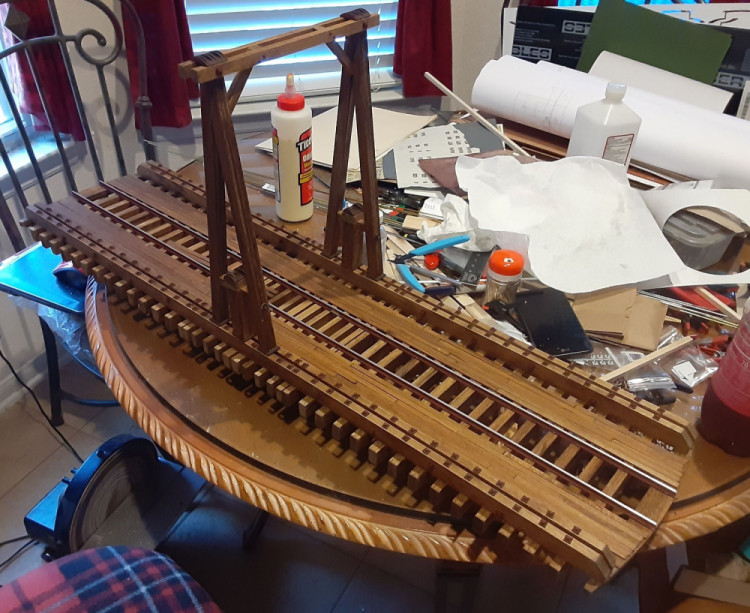
At this point I painted and added all the NBW along the top and bottom to the side beams and drilled the holes to the Tie rods to be added later. I also cut brass rail joiners and soldered wired to them and slipped them on the rails before they were spiked in place. After the rails were in place and properly gauged and centered using a centering jig to made sure that rails were the same at both end of the turntable, I installed the uprights as seen below.
Next came making the metal hardware saddles for the Tie rods and connectors. I went back to the CAD program and laid out side profiles for the Saddles for the top cross beam and that sit on top of the lower side beams on the uprights. These were then cut out of 1mm thick styrene and were then glued togther to made the saddles. lots of layers were needed to make the part.
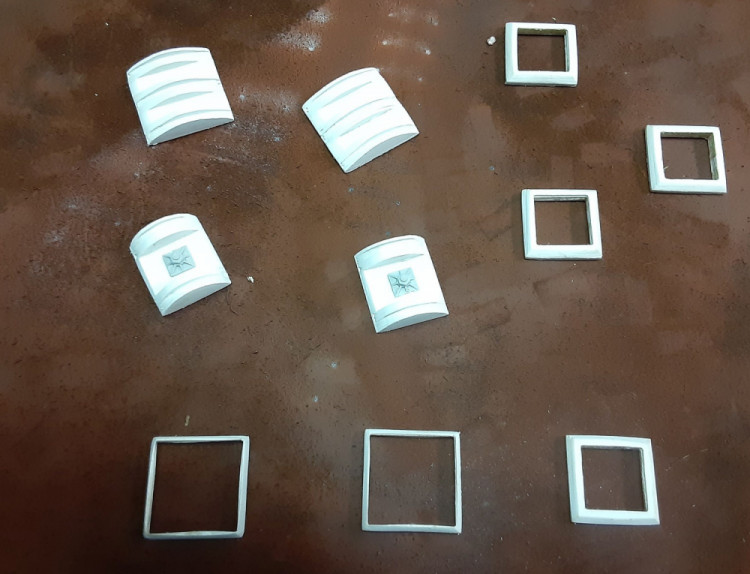
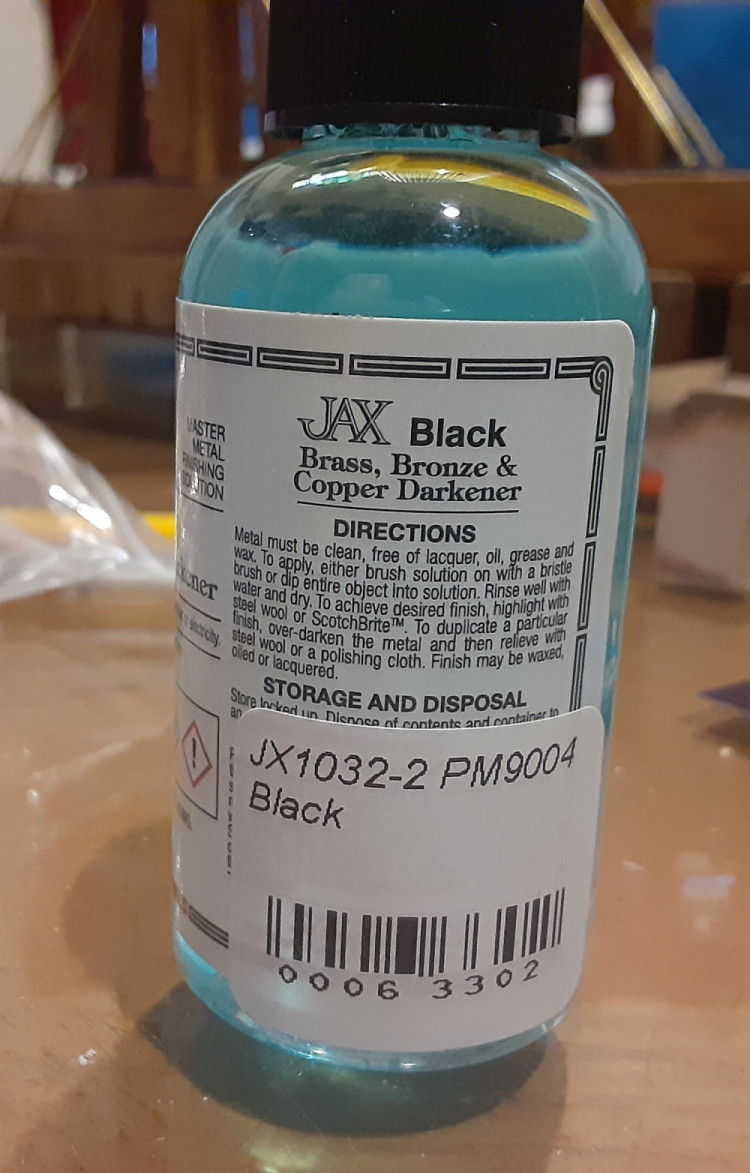
Seen above the saddles had NBW's added. The box shape things are the base rings that go around the center uprights and then angled uprights on top of the side beams. These were all painted with flat black paint and while the paint was still wet, was lightly over sprayed with Krylon Ruddy Brown paint to simulate rust. after they were dry, they were installed. while they were drying, Brass rods were cut to size and then aged with JAX Black solution. Linkage was made using some white metal castings for some Logging hardware that was modified to look like the the real clevis. The mating part was made from brass and then soldered to the brass rods and aged as well and than mated to the clevises. when all this was completed, the Tie rods were installed. as shown below.
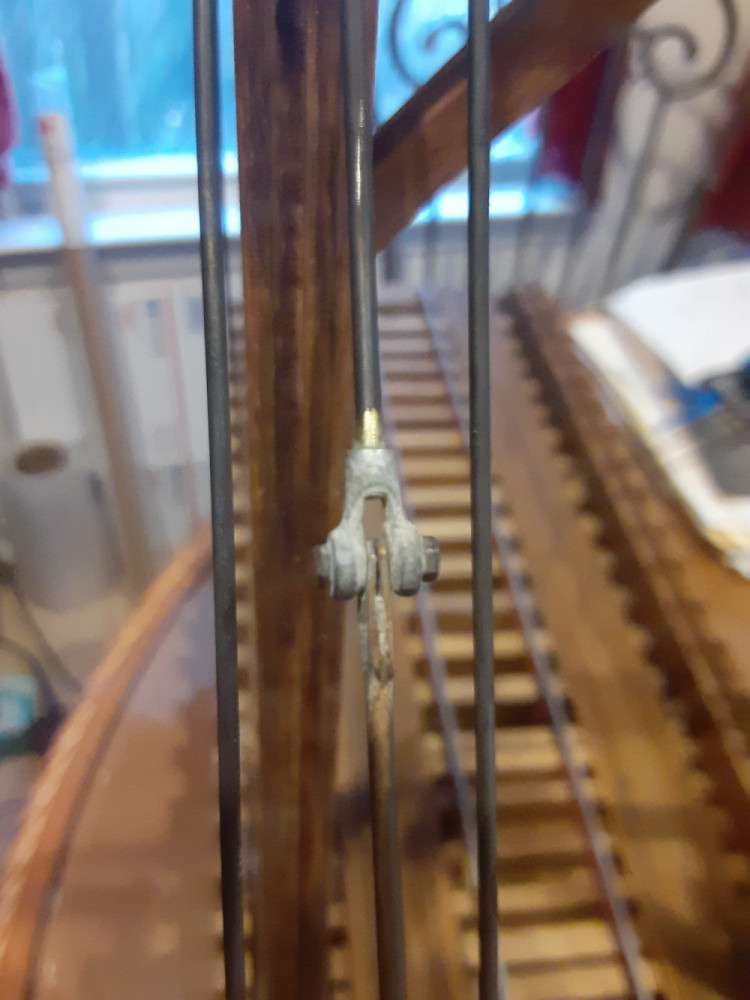
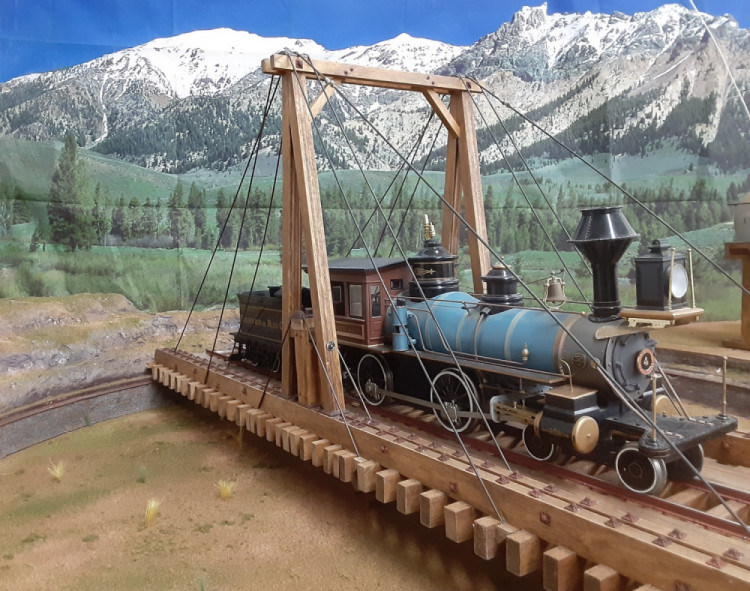
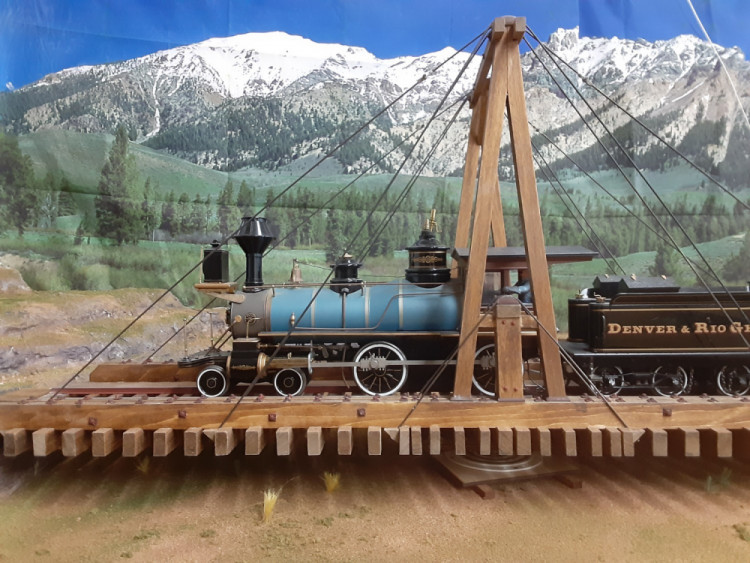
Tie Rods Installed
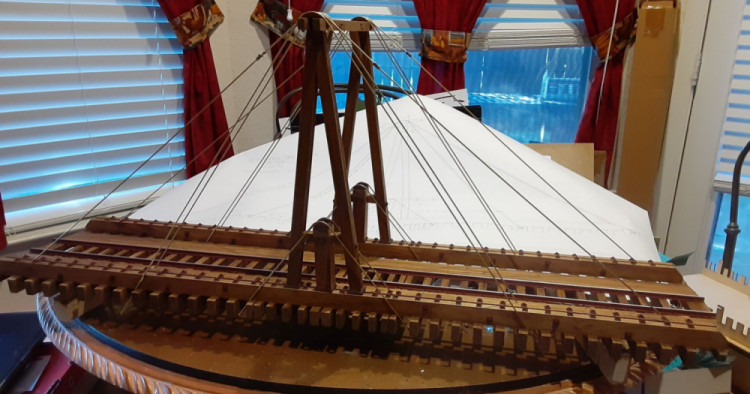
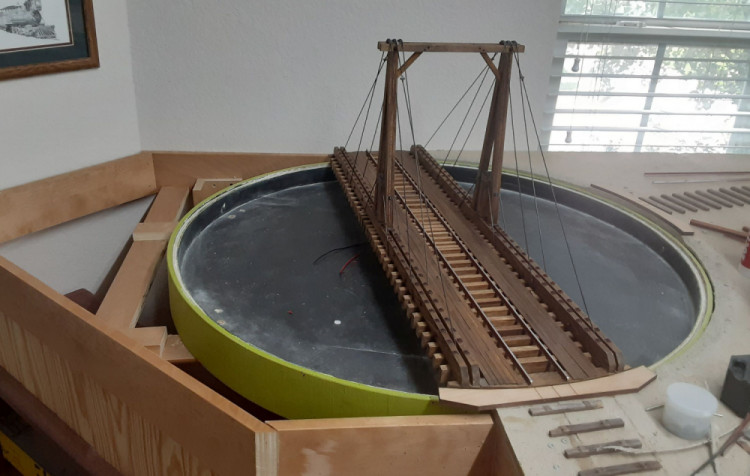
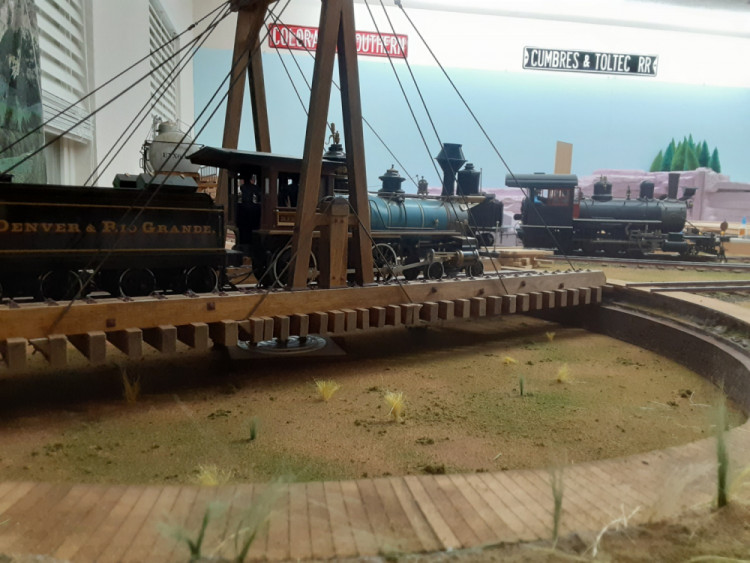
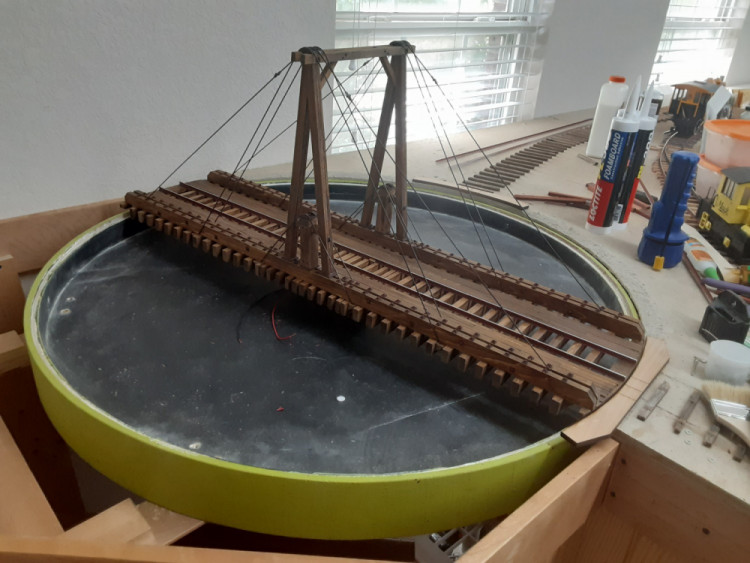
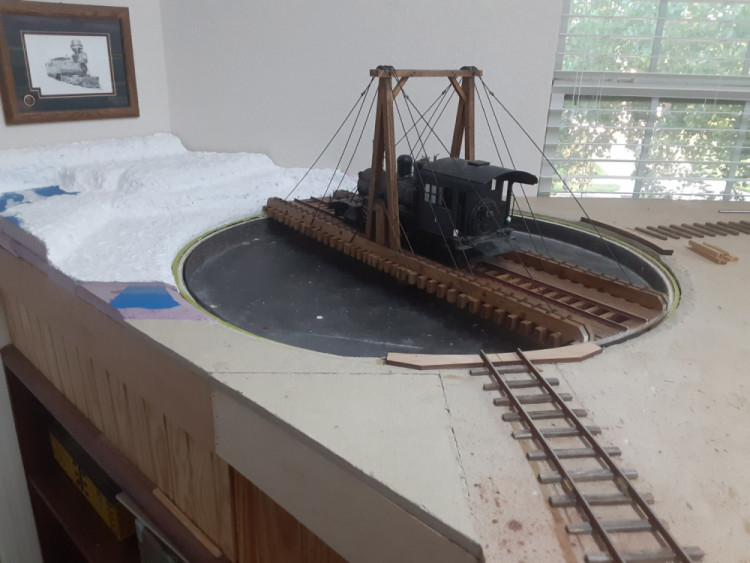
Installed in Pit below
Scenery Started
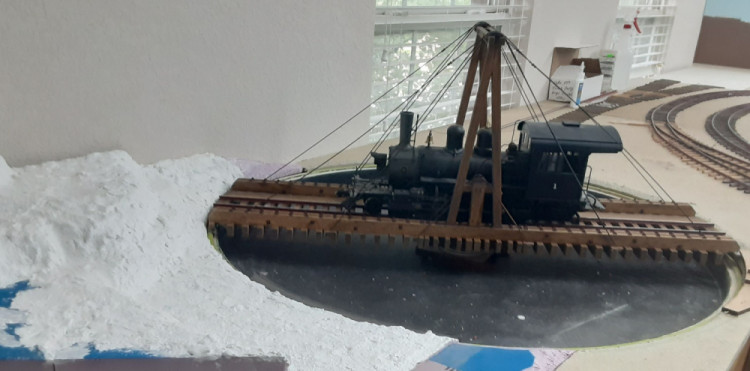
completed to this point, still needs more scenery details